Why DIY Copper Kitchen Decor is Trending
Copper kitchen decor has surged in popularity, transforming kitchens into stylish and inviting spaces. The warm, reddish-brown tones of copper add a touch of elegance and sophistication, perfectly complementing various design styles from rustic to modern. DIY copper kitchen decor offers an accessible way to embrace this trend, allowing homeowners to personalize their spaces while enjoying the satisfaction of creating something beautiful with their own hands. The trend is fueled by the desire for unique, handcrafted elements that reflect personal style and the growing interest in sustainable and budget-friendly design solutions.
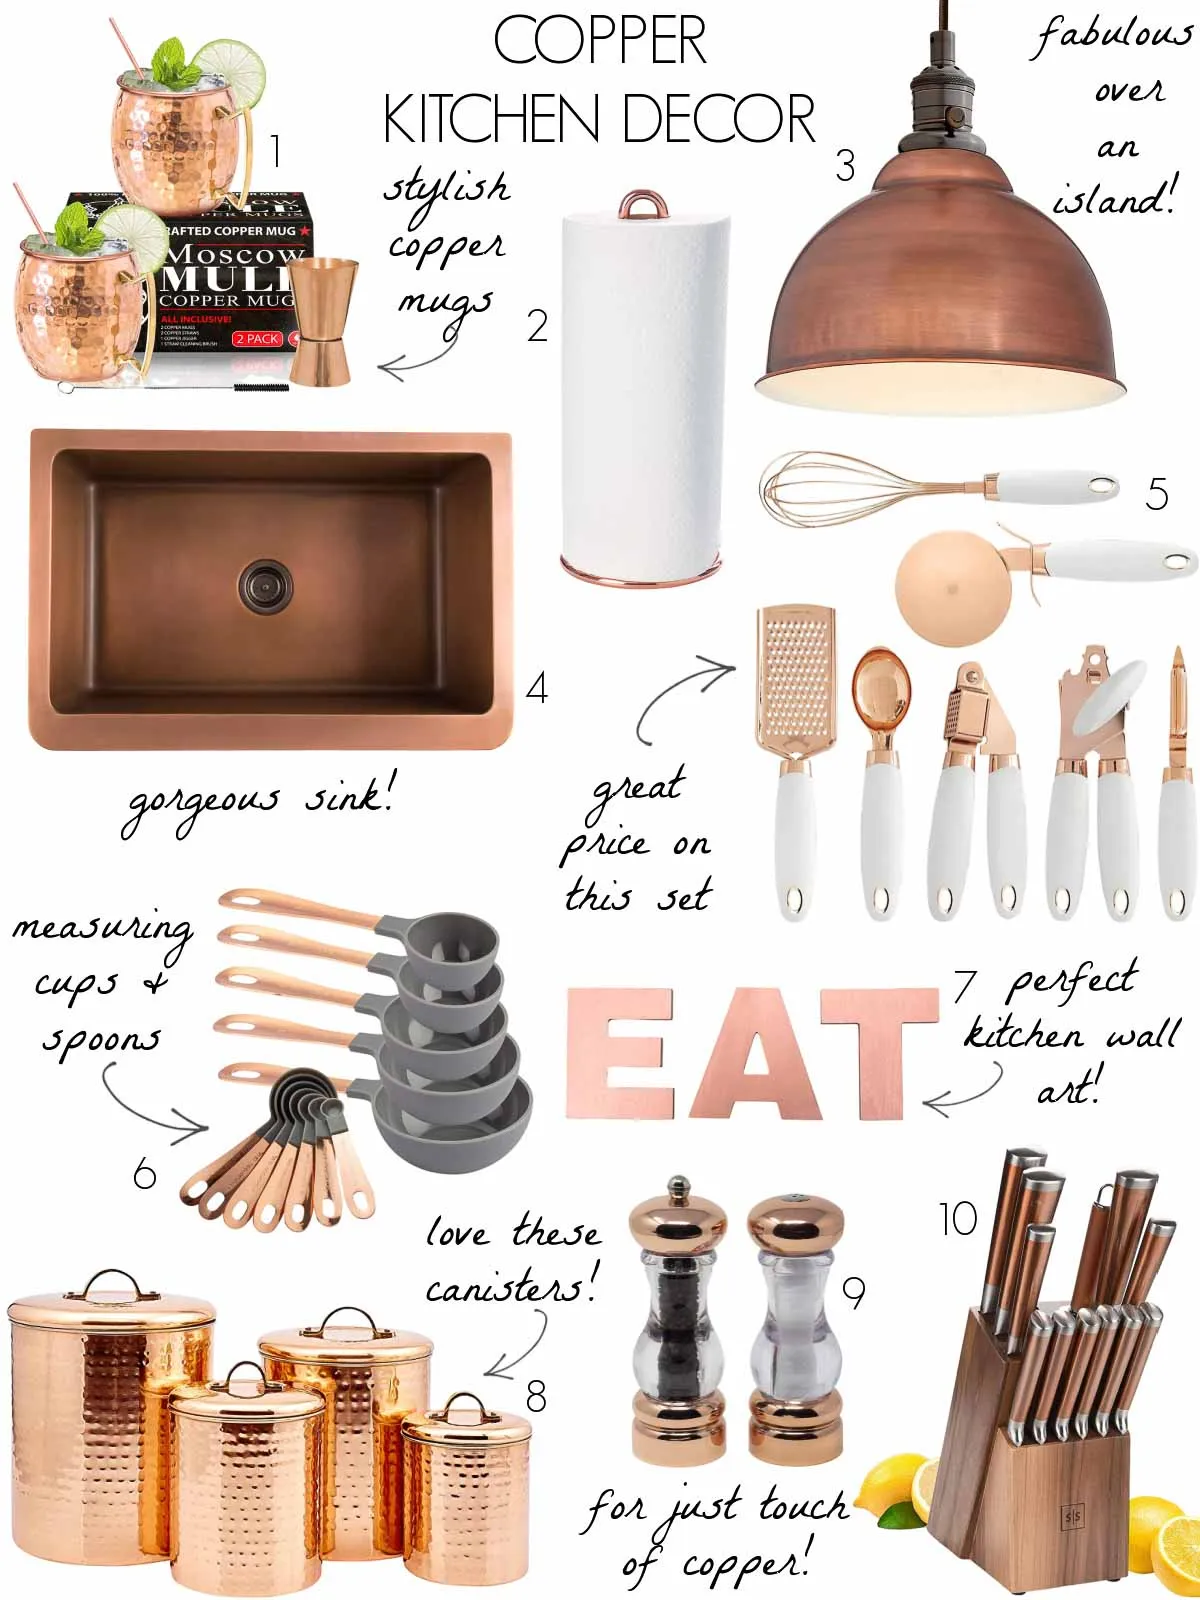
Benefits of Copper Kitchen Decor
Aesthetic Appeal of Copper

Copper’s rich color and reflective surface create a visually stunning effect. It adds warmth and depth to a kitchen, making it feel more welcoming and stylish. Whether used in small accents or as a major design element, copper elevates the overall aesthetic, providing a luxurious feel without the hefty price tag. Its versatility allows it to blend seamlessly with various color palettes and materials, making it an ideal choice for any kitchen design.
Durability and Functionality
Copper is renowned for its durability and longevity. It resists corrosion and wear, making it a practical choice for kitchen applications. Copper surfaces, such as backsplashes or pots, can withstand the rigors of daily use while maintaining their beauty. Furthermore, copper is naturally antimicrobial, which helps keep your kitchen cleaner and safer. This combination of aesthetic appeal and practical functionality makes copper an excellent investment for any kitchen.
Cost-Effectiveness of DIY Projects
Undertaking DIY copper kitchen decor projects is a budget-friendly way to achieve a high-end look. The cost of materials, such as copper sheets, pipes, or fittings, is often significantly less than purchasing pre-made copper decor items. DIY projects also allow you to control the scope of your project, ensuring you only spend what you can afford. This flexibility makes it easier to incorporate copper accents into your kitchen without breaking the bank. Moreover, the satisfaction of creating something beautiful and functional with your own hands adds significant value.
Gathering Your Supplies

Essential Tools for Copper Kitchen Decor DIY
Before starting any DIY copper kitchen decor project, gather the necessary tools. These may include a measuring tape, level, saw (for cutting copper pipes or sheets), drill, soldering iron (if joining copper pipes), sandpaper, and safety glasses. A good set of pliers and wire cutters will also prove helpful. Having the right tools ensures the project’s success and makes the process easier and more enjoyable.
Copper Materials to Buy
You will need various copper materials, depending on your project. These include copper sheets, pipes, fittings, and wire. Copper sheets are ideal for backsplashes and decorative panels. Copper pipes can be used for pot racks or utensil holders. Copper wire can be used for accents and detailing. Choose the appropriate gauge and type of copper based on your project’s requirements. Consider the finish – polished, brushed, or hammered – to match your desired aesthetic.
Where to Find Affordable Copper

Finding affordable copper is crucial for keeping your DIY project within budget. Check local hardware stores, which often have a selection of copper materials at competitive prices. Online retailers also offer a wide variety of copper products. Consider looking for scrap copper at salvage yards or recycling centers; these sources can provide significant cost savings. Compare prices from different vendors to ensure you get the best deal.
Preparing Your Kitchen Space
Cleaning and Preparing Surfaces
Before starting any copper decor project, thoroughly clean and prepare the surfaces where you will be working. Remove any dust, grease, or debris from the area. Use a degreasing cleaner to ensure that the surfaces are free of any substances that might interfere with adhesion or soldering. For copper surfaces, clean them with a mild detergent and water, then dry them completely before applying any finishes or adhesives.
Safety Precautions When Working with Copper

Always prioritize safety when working with copper. Wear safety glasses to protect your eyes from flying debris. Use gloves to protect your hands from sharp edges and chemicals. If soldering, work in a well-ventilated area to avoid inhaling fumes. Follow all manufacturer’s instructions for any tools or materials you use. If you’re unsure about any part of the process, seek guidance from a professional to avoid injury.
DIY Copper Kitchen Decor Project Ideas
Copper Pot Rack DIY
A copper pot rack adds both style and functionality to your kitchen, providing a convenient storage solution for pots and pans. This project can be customized to fit your kitchen space and needs. Measure the space where you want to install the pot rack, then cut copper pipes to the desired length. Assemble the pot rack using copper fittings and secure it to the ceiling or wall using appropriate hardware. Ensure the pot rack is sturdy enough to hold the weight of your cookware.
Step-by-Step Guide for Making a Copper Pot Rack

First, measure and cut copper pipes to the required lengths. Next, assemble the frame using copper elbows and tees, securing them with solder or adhesive. Install the pot rack by attaching it to the ceiling or wall with screws or hooks. Ensure the rack is level and securely fastened. Finally, add S-hooks to hang your pots and pans, and enjoy your new, stylish pot rack.
Copper Utensil Holder DIY
A copper utensil holder is a simple yet elegant addition to any kitchen. It keeps your cooking utensils organized and within easy reach. You can create a utensil holder from a copper pipe or sheet, customizing the size and design to match your kitchen style. This project is great for beginners, as it requires minimal tools and effort while making a significant impact on the kitchen’s look.
Instructions for a Copper Utensil Holder
Cut a length of copper pipe to your desired height. Clean the pipe and ensure it’s free of debris. Seal the bottom with a copper cap or a piece of copper sheet, adhering it with adhesive. For a more decorative touch, you can add hammered copper details or a brushed finish. Once dry, you can place your utensils in the holder, adding a touch of copper elegance to your countertop.
Copper Backsplash DIY

A copper backsplash is a stunning focal point that adds a touch of luxury to your kitchen. This project can be more involved but yields a high-impact result. You can use copper sheets or tiles, installing them directly onto the wall. This project requires precise measurements and careful installation to ensure a professional finish. It’s an excellent choice for those looking to make a bold statement in their kitchen.
Tips for Installing a Copper Backsplash
Prepare the wall surface by ensuring it’s clean, dry, and level. Measure and cut the copper sheets or tiles to fit the space. Apply adhesive to the back of the copper and carefully position it on the wall. Use a level to ensure the copper is straight, and apply pressure to secure it. Once the adhesive has dried, apply grout (if using tiles) and wipe away any excess. Consider sealing the copper to protect its finish.
Maintaining Your DIY Copper Decor
Cleaning Copper Surfaces
Regular cleaning will keep your copper decor looking its best. Use a mild dish soap and warm water to clean copper surfaces. Avoid harsh chemicals or abrasive cleaners, which can damage the finish. Rinse thoroughly and dry with a soft cloth to prevent water spots. For stubborn stains or tarnish, use a copper cleaner or a homemade solution of vinegar and salt. Always test any cleaning solution on a small, inconspicuous area first.
Protecting Copper from Tarnish
Copper naturally tarnishes over time, which can alter its appearance. To slow down this process, apply a protective coating or sealant. You can use a clear lacquer or wax designed specifically for copper. Ensure the surface is clean and dry before applying the sealant. Reapply the sealant as needed to maintain the copper’s shine and protect it from oxidation. Storing copper items in a dry place can also help prevent tarnish.
Conclusion
DIY copper kitchen decor offers an exciting opportunity to enhance your kitchen’s aesthetic and add a touch of elegance. By following these steps and project ideas, you can create stunning copper accents that reflect your personal style and elevate your space. Remember to gather your supplies, prepare your kitchen, and prioritize safety. Enjoy the process of transforming your kitchen into a beautiful and functional area with the warmth and charm of copper. With a little effort and creativity, you can achieve remarkable results, adding value and personality to your home. Embrace the trend and start your DIY copper kitchen decor project today!