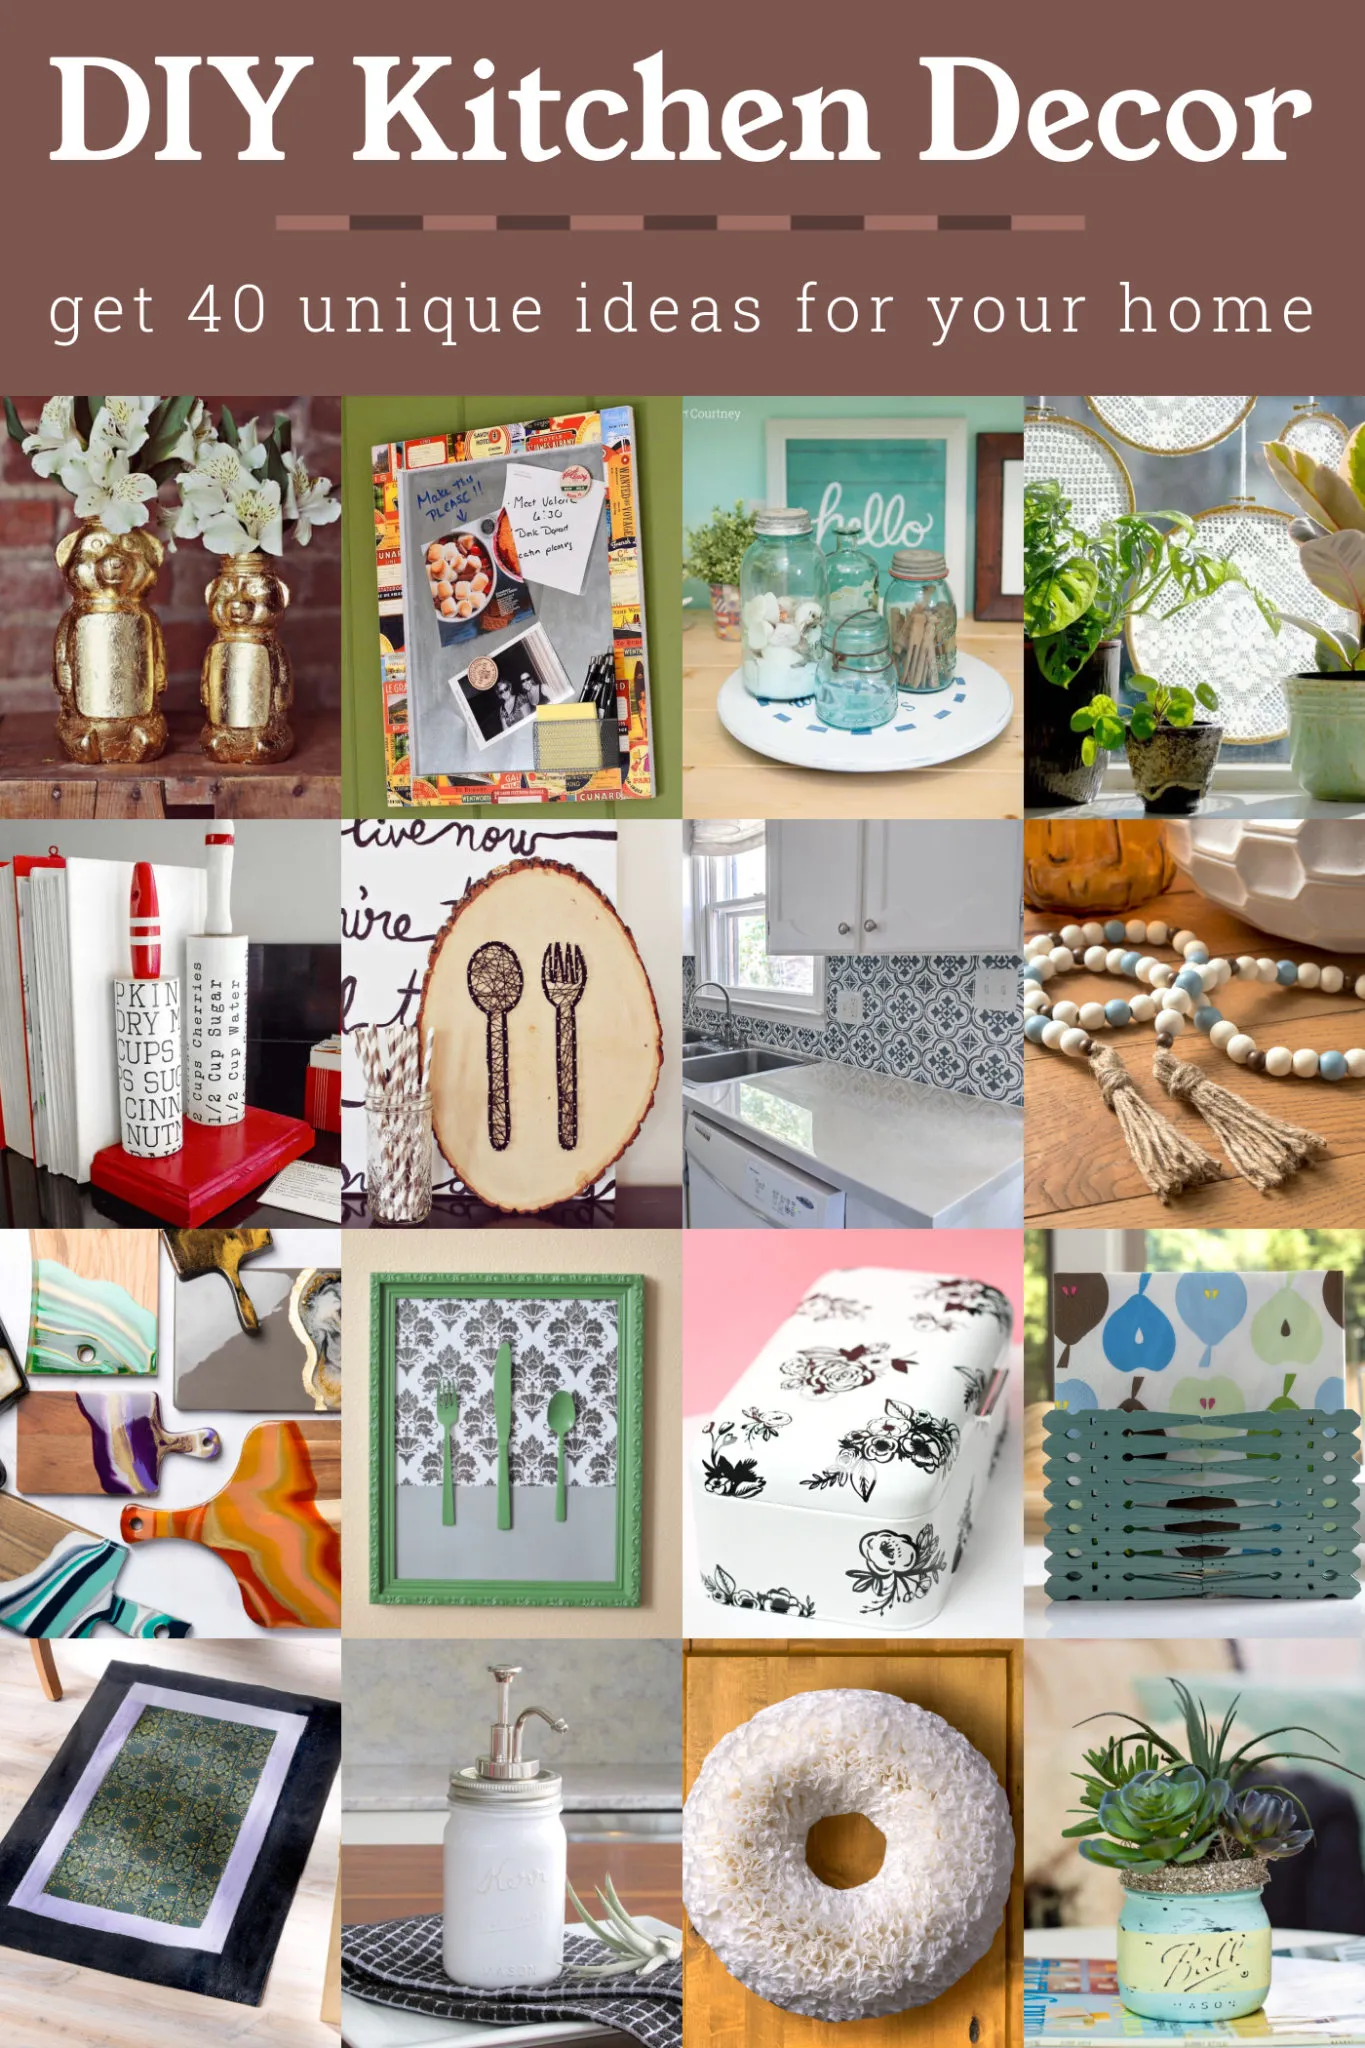
Amazing DIY Kitchen Decor Ideas
Transforming your kitchen doesn’t always require a full-scale renovation or a huge budget. With a little creativity and some DIY spirit, you can breathe new life into your space. This article unveils seven inspiring DIY kitchen decor ideas, perfect for adding personality, functionality, and charm. These projects range in difficulty, ensuring there’s something for every skill level. From rustic shelves to charming centerpieces, get ready to embark on a journey of creativity and create a kitchen that reflects your unique style. Prepare to be amazed by the impact these simple yet effective DIY projects can have on your kitchen’s overall aesthetic and functionality. Let’s dive into the wonderful world of DIY kitchen decor!
DIY Decor Idea 1 Repurposed Pallet Shelves
Repurposing pallets is a fantastic way to add rustic charm and extra storage to your kitchen. Pallet shelves are not only stylish but also incredibly budget-friendly. This project will give you a unique storage solution while adding a touch of warmth to your kitchen decor. The weathered wood of the pallets adds a sense of history and character, instantly elevating the space. These shelves can be customized to fit any kitchen size and style, making them a versatile option for any homeowner looking to infuse their kitchen with some DIY flair. Consider this project a great starting point for your kitchen transformation. The key is to find pallets in good condition, ready to be transformed.
Gathering Materials and Tools

Before you begin building your pallet shelves, gather the necessary materials. You’ll need a pallet (or part of one), sandpaper, wood stain or paint, screws, a drill, a level, and safety glasses. Ensure you choose a pallet that is clean and free from any chemicals. If you’re using a whole pallet, you might want to disassemble it for ease of use. Sanding the wood is crucial to remove splinters and create a smooth surface for finishing. Decide on the desired aesthetic – will you stain the wood to enhance its natural grain or paint it to match your kitchen’s color scheme? Select your preferred color of stain and tools like gloves to protect your hands while working on the pallets.
Building and Assembling the Shelves
Cut the pallet to your desired shelf size. Use a saw to remove any damaged pieces of wood. Sand the cut edges until smooth. If you are using a whole pallet you may use the existing structures as shelves. Ensure that the shelves are the right size and shape for your use. Then, you can assemble by screwing the wooden pieces together at the corners and edges to create a strong, stable structure. Use a level to make sure the shelves are straight and secure, making sure you can use them for storing items. Remember to use appropriate screws for wood and consider using wood glue for added strength. Double check all your measurements for a secure outcome.
Adding Finishing Touches and Decorating
Once the shelves are assembled, it’s time to finish them. Apply wood stain or paint according to the manufacturer’s instructions. You may also add a clear coat for added protection. After the finish is dry, mount your new shelves to the wall using appropriate anchors and screws. Style your shelves with kitchen essentials, such as cookbooks, decorative jars, or small plants. You can customize your pallet shelves by adding hooks for mugs or small baskets for storing utensils. Personalize the shelves with your favorite kitchen decor. Make them match the kitchen theme and enjoy your beautiful and functional DIY pallet shelves.
DIY Decor Idea 2 Mason Jar Centerpieces

Mason jars are a versatile and affordable option for DIY kitchen decor. Their simple, clean design allows for endless creative possibilities. This project is perfect for adding a touch of charm to your kitchen table or countertop. Mason jar centerpieces are not only visually appealing but also functional. You can use them to hold flowers, utensils, or even candles, making them a practical addition to your kitchen. They can easily be customized to match any kitchen style. You can also use the jars for different occasions, from everyday use to special events. It’s an easy way to add some personality to your dining space.
Collecting Mason Jars and Embellishments
Gathering your materials is the first step. Collect a variety of mason jars in different sizes and shapes. You can find these at craft stores, thrift shops, or even repurpose jars you already have. Consider adding embellishments like twine, burlap, lace, ribbons, or paint. Small decorative items, such as beads, buttons, or stickers, can also enhance the jars. You might want to include some tools, such as scissors, glue, and paint brushes, depending on your design. Make sure you have a clear vision for the end product. You can also gather a variety of materials, such as acrylic paint or spray paint, to create different effects.
Creating the Centerpiece Arrangement
Once you have your materials, it’s time to start arranging your centerpiece. Begin by cleaning the mason jars thoroughly. Then, consider how you want to arrange them. Will you group them together, arrange them in a line, or create a tiered display? Consider using a tray, a wooden board, or a piece of fabric to serve as the base for your arrangement. For a rustic look, wrap the jars in twine or burlap. For a more elegant style, paint them with metallic paint or add lace and ribbons. You can experiment with different arrangements until you find one that suits your kitchen decor. Try to create different arrangements until you are happy with your centerpiece arrangement.
Adding Flowers and Decorative Elements

The final touch is adding flowers and decorative elements to your mason jar centerpieces. Fresh flowers are a classic choice, but you can also use faux flowers or dried blooms. Consider using seasonal flowers to keep your centerpiece fresh and exciting. You can fill the jars with water and arrange the flowers, or you can add sand, pebbles, or marbles to hold the stems in place. You can also add candles, small stones, or decorative beads to the jars to create more depth. Mix and match different elements to make your centerpiece unique. This adds personality to the kitchen and will surely impress your guests.
DIY Decor Idea 3 Chalkboard Wall
A chalkboard wall is a fun and functional addition to any kitchen. This DIY project allows you to create a space for notes, recipes, or creative artwork. Chalkboard walls are also a great way to add a touch of personality and a unique element to your kitchen. This is an excellent project for families with kids because of the ability to draw. This kitchen feature is both functional and a creative outlet. Chalkboard walls are a fantastic way to express your creativity and add a personal touch to your kitchen’s decor. Let’s turn a wall into a canvas of creativity and information.
Preparing the Wall Surface
Before applying chalkboard paint, properly prepare the wall surface. Start by cleaning the wall thoroughly to remove any dirt, dust, or grease. Repair any imperfections like cracks or holes with spackle and sand smooth. If the wall has a glossy finish, sand it lightly to create a surface that the chalkboard paint can adhere to. Apply a primer to the wall for better adhesion and coverage. Make sure the primer is completely dry before moving on to the next step. Proper preparation ensures a smooth and durable chalkboard surface. The more you prepare the wall, the better your results will be.
Applying Chalkboard Paint

Once the wall is prepped and primed, it’s time to apply the chalkboard paint. Stir the paint thoroughly before use. Apply the first coat of chalkboard paint evenly using a brush or roller. Allow the first coat to dry completely according to the manufacturer’s instructions. Then, apply a second coat for a richer, more even finish. You may need a third coat depending on the paint and the wall color. Let the paint dry completely. Once the paint is dry, the surface is ready for use. You can season the chalkboard by rubbing chalk sideways over the entire surface and then erasing it to prepare the wall.
Adding a Decorative Frame
Adding a decorative frame to your chalkboard wall can enhance its appearance and make it a focal point in your kitchen. Measure the dimensions of your chalkboard wall and choose a frame that complements your kitchen’s style. You can use wood, metal, or even repurposed materials for the frame. Cut the frame pieces to the correct size and assemble them using wood glue and nails or screws. Paint or stain the frame to match your kitchen decor. Attach the frame to the wall around the chalkboard using construction adhesive or screws. The frame not only adds visual appeal but also defines the chalkboard space.
DIY Decor Idea 4 Rustic Wooden Signs
Rustic wooden signs add warmth, character, and a touch of farmhouse charm to any kitchen. This DIY project is easy to customize with your favorite quotes, recipes, or kitchen-themed phrases. The natural wood and handcrafted look create a cozy and inviting atmosphere. These signs are also a great way to add personality to your kitchen, as you can choose designs and text that reflect your style. Wooden signs are not only decorative but can also be functional. They can be used as a reminder for grocery shopping, a welcome message, or an encouragement to cook and enjoy a meal.
Selecting and Cutting Wood

Start by selecting the type and size of wood you want to use for your rustic sign. Reclaimed wood, such as old fence boards or pallets, works perfectly, adding to the rustic aesthetic. Alternatively, you can purchase new wood boards from a hardware store. Decide on the size and shape of your sign. Cut the wood to the desired dimensions using a saw. Make sure to sand the edges of the wood to remove any splinters or rough spots. You can also add a rustic look by distressing the wood with a hammer or sandpaper. Carefully consider these choices to help decide which material will give you the best finished product.
Painting and Stenciling the Signs
Once the wood is prepared, decide whether to paint or stain your sign. If painting, choose a color that complements your kitchen decor. Apply the paint evenly and let it dry completely. If staining, use a wood stain that highlights the wood grain. Now, it’s time to add your chosen text or design to the sign. You can use stencils, freehand painting, or transfer printed designs onto the wood. If using stencils, secure them in place and carefully paint the design. If painting freehand, use a pencil to sketch your design before painting. Use a variety of colors and fonts to add creativity.
Adding Rustic Hardware
Adding rustic hardware can enhance the overall look and feel of your wooden signs. Consider adding features like vintage-style hooks, decorative knobs, or metal corners. You can also add a twine or rope to hang the sign. Select hardware that complements the style of your sign. Attach the hardware securely to the sign using screws or nails. Ensure that the hardware is level and stable. Using such hardware will give the sign a vintage or farmhouse look. This creates a cohesive and stylish look, enhancing the charm of the sign and adding to your kitchen decor. You can use a simple color theme.
DIY Decor Idea 5 Kitchen Herb Garden

A kitchen herb garden is a functional and beautiful addition to any kitchen. Growing fresh herbs allows you to have fresh ingredients on hand for cooking. This DIY project brings a touch of nature into your kitchen, adding a vibrant and aromatic element. The herbs are also a great way to add some freshness and green, adding visual appeal. Herb gardens can be tailored to fit any space, from a small windowsill to a dedicated wall. You can enjoy fresh herbs year-round by growing herbs indoors. You may use the herbs in various recipes and use them to decorate your dishes.
Choosing and Planting Herbs
Choose herbs that you enjoy cooking with and that thrive indoors. Some popular options include basil, mint, rosemary, thyme, parsley, and chives. Select a sunny spot in your kitchen for your herb garden. If you don’t have a sunny spot, consider using grow lights. Plant the herbs in pots with drainage holes, or use a planter box. Use high-quality potting soil that drains well. When planting, follow the instructions on the seed packets or plant labels. Water the herbs regularly, making sure not to overwater. Consider adding a fertilizer to the soil. Make sure you consider herbs that can be used for everyday use and will survive within the kitchen.
Creating a Decorative Herb Garden
Make your herb garden visually appealing by using decorative pots, planters, or repurposed containers. Arrange the herbs in an aesthetically pleasing way. You can use different sizes and colors of pots or use a tiered planter. Label the herbs with cute labels or tags. Add decorative elements such as pebbles, small figurines, or colorful stones. You can also decorate the pots themselves with paint, stencils, or decoupage. Consider the overall aesthetic of your kitchen and choose containers that complement your style. Choose containers that look nice to enhance the overall look of the herb garden. Use the herb garden to add some life to your kitchen.
Maintaining and Harvesting Herbs
Proper maintenance is essential for a thriving herb garden. Water the herbs regularly, keeping the soil consistently moist but not waterlogged. Prune the herbs regularly to encourage growth and prevent them from becoming leggy. Remove any dead or yellowing leaves. Fertilize the herbs occasionally to provide essential nutrients. Harvest the herbs regularly by snipping leaves or stems. Harvest herbs in the morning. Harvest the herbs frequently to encourage new growth. Use your fresh herbs in your cooking, adding flavor and freshness to your dishes. Enjoying the herbs will make your kitchen decor a great experience.
DIY Decor Idea 6 Open Shelving
Open shelving is a stylish and practical way to add storage and display space to your kitchen. This DIY project offers a modern and airy look, making your kitchen feel more spacious and organized. Open shelves also provide an opportunity to showcase your favorite dishware, cookbooks, and decorative items. Open shelving is a fantastic option for homeowners who wish to bring a modern feel to their kitchen. This is also a chance to add personality to your kitchen. The installation of open shelves can be a simple DIY project, improving your kitchen’s overall function. This also allows you to add a design element to your home.
Measuring and Planning the Shelving
Carefully measure the space where you plan to install the open shelves. Determine the desired shelf length, width, and the distance between shelves. Choose the type of shelves that best suits your style, such as wooden, metal, or floating shelves. Consider the weight capacity of the shelves. Ensure that the shelves can support the items you intend to display. Gather all necessary materials, including shelves, brackets, screws, a level, a stud finder, and a drill. Plan your design carefully to achieve a functional and aesthetically pleasing result. Make a clear plan of what you expect for the shelves and where you want to install them.
Installing the Shelves
Locate the wall studs using a stud finder. Secure the brackets to the wall studs to provide the strongest support. If you cannot locate studs, use wall anchors. Install the brackets level. Attach the shelves to the brackets using screws. Make sure that the shelves are properly aligned and level. Double-check all screws and brackets for stability. Ensure that the installation is safe and secure. For floating shelves, follow the manufacturer’s instructions to install the hidden brackets. This provides a seamless and modern look. Take time during the installation to ensure the shelves are stable.
Styling the Open Shelves
Styling open shelves is a fun way to add personality and functionality to your kitchen. Start by arranging your items in groups. Use items of varying heights and textures to create visual interest. Place frequently used items within easy reach. Consider adding decorative items, such as small plants, cookbooks, or decorative bowls. Avoid overcrowding the shelves. Allow for some negative space to create a balanced look. Change up the styling periodically to keep your kitchen decor fresh. Use the shelves to add personality and a touch of design to your kitchen. With some creativity, you can transform the shelves into a stunning display.
DIY Decor Idea 7 Copper Pipe Kitchen Racks
Copper pipe kitchen racks are a stylish and industrial-chic way to add storage and organization to your kitchen. This DIY project provides a unique and functional storage solution for pots, pans, utensils, or even cookbooks. The copper adds warmth and a touch of luxury to the space. These racks are customizable to fit any kitchen size and style, making them a versatile option for any homeowner looking to personalize their kitchen decor. This is a great project to add some modern elements to your kitchen. You can also use them for additional storage. Copper is used for the warmth it can bring to the home.
Gathering Copper Pipes and Fittings
Gather your materials. You will need copper pipes, copper fittings (such as elbows, tees, and flanges), pipe cutter, sandpaper, a drill, and screws. Determine the size and shape of your desired kitchen rack. Purchase the appropriate lengths of copper pipes and fittings. Ensure that the pipes and fittings are clean and free of any debris. Choose copper fittings that complement the overall design of your rack. Gather the necessary tools, including a pipe cutter and sandpaper, for preparing the copper pipes. Plan your design and make sure you have the right materials to build your rack. Make sure the sizes match.
Assembling the Rack
Cut the copper pipes to the desired lengths using a pipe cutter. Sand the cut ends of the pipes to remove any sharp edges. Assemble the rack by connecting the copper pipes and fittings. Use the copper fittings to create the frame and supports for your rack. Secure the connections by tightening the fittings. Consider using pipe adhesive for a more secure hold. Test the rack’s stability by placing it on a flat surface. Before mounting the rack, make sure that all connections are secure. A great place to start is by building the frame and connecting the pipes.
Mounting the Rack and Styling
Once the rack is assembled, it’s time to mount it to the wall or ceiling. Use screws and appropriate anchors to secure the rack. Make sure that the rack is level and stable. Choose the location carefully to ensure easy access and functionality. Style the copper pipe rack with your kitchen essentials, such as pots, pans, utensils, or cookbooks. Hang the pots and pans from S-hooks. Arrange your items in a way that is both functional and visually appealing. The copper pipe rack can be a focal point in your kitchen and the added style will make your kitchen unique. Enjoy your stylish and functional DIY copper pipe rack.